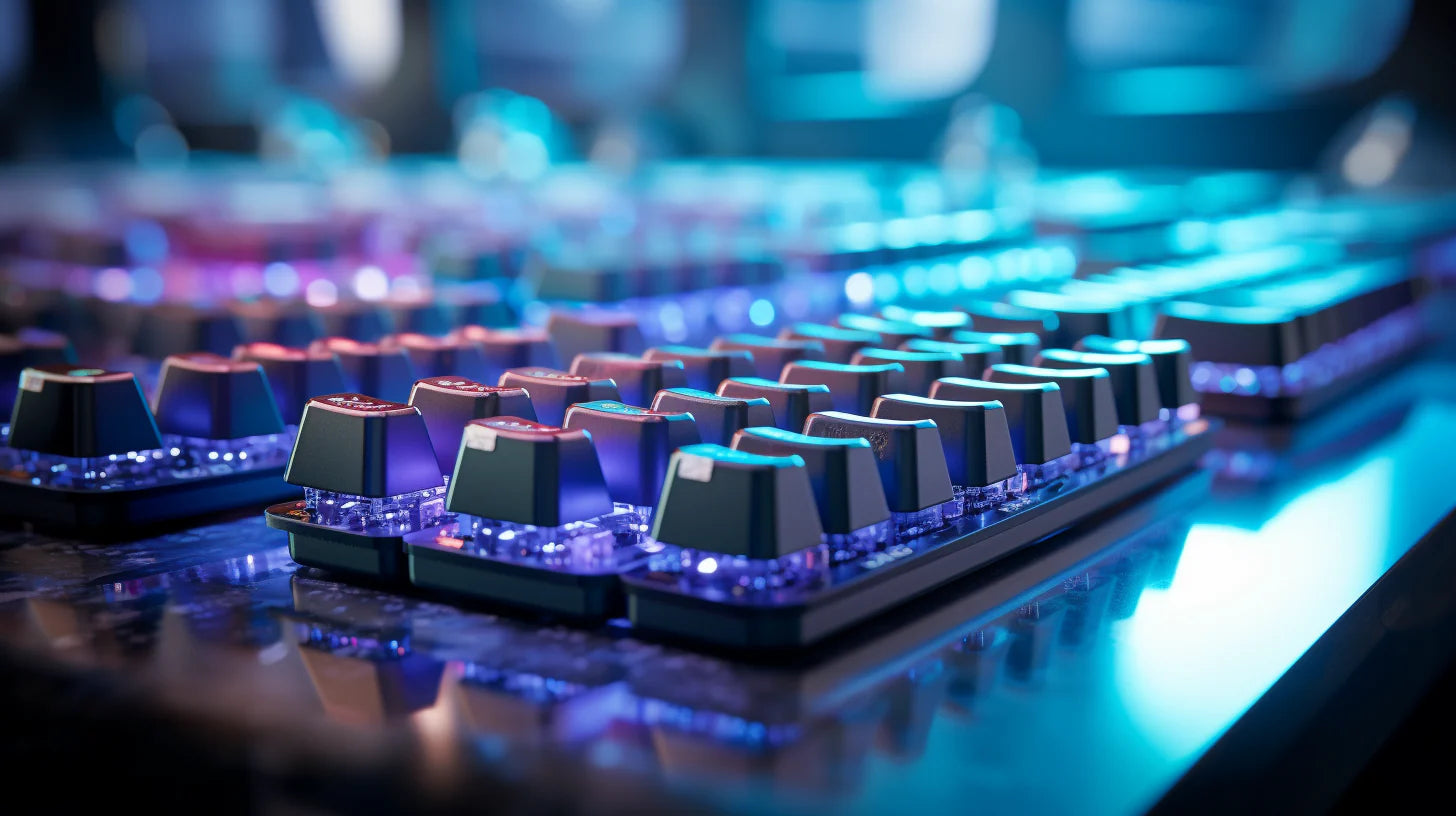
Are you pumped to plunge into the world of solid mechanical keyboards? Welcome to the club. Crafting a custom keyboard can make your head spin 360 degrees. But it’s worth it.
Before everything else, you must determine what kind of monster you want to create. A solid one? A full-sized for nostalgia? The options abound.
So, let’s begin.

First, let’s clarify the term to avoid different interpretations. A custom keyboard is a keyboard you build yourself from individual components to get exactly what you want – none of that pre-made nonsense.
Choosing a size is what you base your build on. Decide if you want a 60% board to conserve desk space or a bigger one for maximum functionality. For gaming, a tenkeyless 87 key is a popular pick.
The heart of any decent custom keyboard build is the switches. You’ve got a ton of options here, from light and clacky switches to heavy and tactile ones. Want something quiet? Switches with noise-canceling features are also available.
Do some research to determine what combination of feel and sound is right for you, and be prepared to sample a lot of different pieces.

Don’t forget the keycaps. They come in all profiles, materials, and legends. ABS and PBT are common quality plastics (ABS won’t last long, though). Look for double-shot or dye-sublimated legends that won’t fade. A unique colorway or retro design is the perfect finishing touch for your custom keyboard.
Handpick the shape and angle of your keycaps. The most common are OEM, Cherry, and SA. While OEM is basic, Cherry has a slight curve for easier typing. SA has a vintage spherical shape that looks and feels good.
After you’ve picked your switches and keycaps, it’s time to choose a sturdy home for them. The case and plate are the foundation that will determine how solid your custom keyboard build feels and functions.
A metal case and plate, like aluminum or SS, make your keyboard an impenetrable fortress, ready to withstand years of furious typing and the occasional rage quit.
High-profile cases allow your switches to stand proud and tall, but low-profile ones have a sleeker silhouette. There are also floating key designs with an open case for a minimalist look that says, “Check out my fancy mechanical switches.”

Now is the excitement part: opting for a PCB and controller to make all the components in your custom keyboard sing. This is where your inner scientist gets out as the PCB routes all those colorful wires from your keys to the controller that tells them what to do.
For a good build, you’ve got a few options:
The controller is what translates your keystrokes into signals your computer understands. It’s the brains behind the beauty. For a custom keyboard, you’ll want a programmable controller that lets you map keys and functions to your heart’s content.
Popular options include:
Choose your PCB and controller wisely; they will determine whether your custom keyboard build sings or merely croaks.
Your cart is empty