How Do You Change the Key on a Mechanical Keyboard?

change key on mechanical keyboard

Mechanical keyboards have evolved from niche gamer gear into must-have tools for professionals, creators, and anyone who types regularly. One of their biggest advantages? The ability to “change the key”—not just literally, but in multiple ways. Whether you want a new typing sound, smoother feel, or cleaner aesthetic, mechanical keyboards offer a level of personalization unmatched by traditional ones.

This article dives deep into what it means to change a key, from swapping keycaps and switches to remapping layouts and modifying stabilizers. If you're ready to take your keyboard experience to the next level, read on.

What Does It Mean to “Change the Key”?

In the world of mechanical keyboards, "changing the key" goes far beyond removing a keycap. It includes:

  • Swapping keycaps – to refresh aesthetics, improve comfort, or increase legibility.
  • Replacing switches – for a better typing feel, quieter performance, or lighter actuation.
  • Remapping key functions – for productivity, accessibility, or custom workflows.
  • Modifying stabilizers – to eliminate rattle and improve large key consistency.

Each method offers unique benefits, and we’ll walk you through how to do them safely and effectively.

1. Swapping Keycaps: A Quick Visual Upgrade

Why Change Keycaps?

Upgrading your keycaps is the easiest and most satisfying way to personalize your board. Choose from minimalist monochromes, retro themes, or bold colors to match your setup. Different materials and profiles also affect how the mechanical keyboard feels under your fingers.

Material Options:

  • ABS: Lightweight, smooth, and affordable, but prone to shine with use.
  • PBT: Heavier, textured, and more durable—great for long-term typing.

Common Profiles:

  • OEM: Slightly sculpted, familiar layout.
  • Cherry: Lower-profile, more ergonomic.
  • SA: Tall and retro, good for aesthetic setups.
  • DSA: Flat, uniform height—popular for custom layouts.

How to Swap Keycaps:

Tools: Wire keycap puller, optional microfiber cloth and compressed air.

Steps:

  1. Hook the puller under the keycap and pull upward gently.
  2. Clean the board and switches if needed.
  3. Press the new keycap firmly onto the switch stem.

Tip: Replace one row at a time to avoid mixing different keycap profiles.

2. Replacing Switches: Change How It Feels and Sounds

Why Replace Switches?

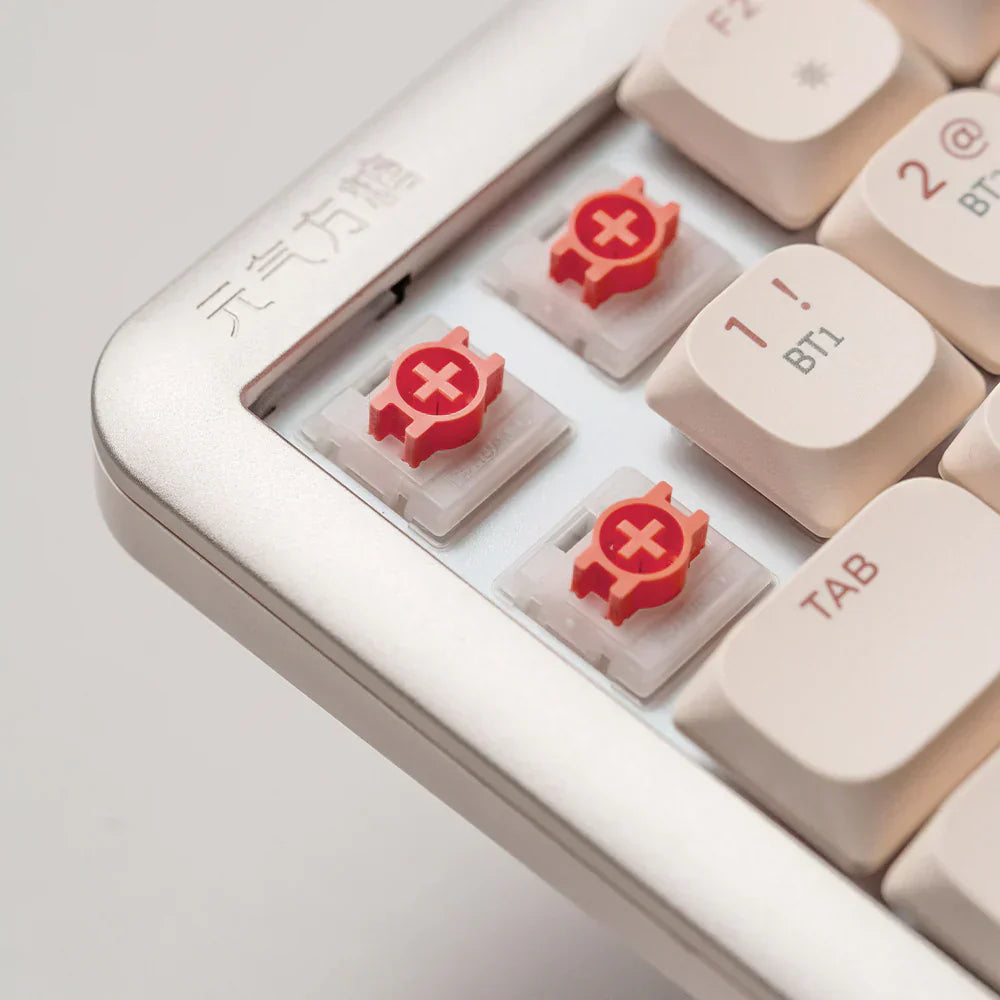
The switch determines how your keyboard sounds and feels. Whether you like soft linear action or tactile clicks, swapping switches lets you tailor your mechanical keyboard to your preferences.

You might replace switches to:

  • Make typing quieter or smoother
  • Reduce finger fatigue with lighter actuation
  • Fix faulty switches

Hot-Swap vs. Soldered Boards:

  • Hot-swappable keyboards allow you to replace switches without soldering.
  • Soldered boards require desoldering the old switch and soldering in the new one—more complex, but allows for greater flexibility.

Tools for Hot-Swap Boards:
Switch puller, optional switch opener, lubricant, brush, and tweezers.

Steps:

  1. Remove keycap.
  2. Use the switch puller to pull out the old switch.
  3. Align new switch pins and insert them.
  4. Replace keycap.

Optional Mod: Lubricate the switch with dielectric grease for a smoother, quieter action.

3. Remapping Keys: Customize Functions to Match Your Workflow

Why Remap Keys?

Ideal for productivity users, coders, and multitaskers, remapping allows you to change what each key does or even build layered key combinations.

Common Uses:

  • Turn Caps Lock into Ctrl for efficient shortcuts
  • Assign media controls or macros
  • Switch between layout styles like QWERTY, Dvorak, or Colemak

Popular Tools:

  • VIA/QMK: Custom firmware for programmable keyboards
  • SharpKeys (Windows): Simple GUI-based remapper
  • Karabiner-Elements (macOS): Powerful key mapping tool
  • AutoHotKey: Advanced Windows scripting for key behavior

Example: Assign “Ctrl + Alt + D” to open a specific app or remap the right Shift to a dedicated emoji key.

4. Modding Stabilizers: Smooth Out the Big Keys

Why Modify Stabilizers?

Stabilizers affect how larger keys like Spacebar, Shift, and Enter feel. Rattling, shaking, or mushy keys often signal the need for a mod or replacement.

Mod Options:

  • Clipping: Remove feet from the stabilizer housing to improve movement.
  • Lubing: Apply dielectric grease to reduce noise.
  • Band-aid mod: Adds soft padding under stabilizer stems for a deeper sound.

Recommended Tools:
Precision screwdriver, dielectric grease, brush, tweezers, and scissors.

Steps:

  1. Open keyboard case if needed.
  2. Remove and modify or replace stabilizers.
  3. Reassemble and test key feel.

Common Mistakes to Avoid

  • Using plastic ring pullers: These can damage keycaps. Use a wire-style puller instead.
  • Bending switch pins: Carefully align pins before inserting switches.
  • Mismatching profiles: Don’t mix SA and OEM on the same row—typing will feel uneven.
  • Over-lubing: Too much grease can result in a mushy or unresponsive key feel.
  • Ignoring layout compatibility: Not all keycap sets support all keyboard layouts (like ISO vs ANSI).

Final Thoughts: Make It Truly Yours

Customizing your mechanical keyboard isn't just about looks—it's a way to make your everyday tools more comfortable, efficient, and personal. Whether you're chasing a specific aesthetic or fine-tuning key feel to match your typing rhythm, changing your keyboard setup is a journey of discovery.

Take the time to explore. Swap, remap, lube, or mod—just don’t settle for “stock.” This is your mechanical keyboard. Make it yours.

Related posts

  • hotswap keyboard switches

    How to Hotswap a Keyboard: A Complete Step-by-Step Guide for Beginners

  • tkl keyboard

    What Is a TKL Keyboard? And Why It Might Be the Perfect Choice for You

  • Mechanical Keyboard Switches

    What Matters Most in Mechanical Keyboard Switches

  • Connect Wireless Keyboard

    How to Connect Wireless Keyboard: A Step-by-Step Guide for All Devices